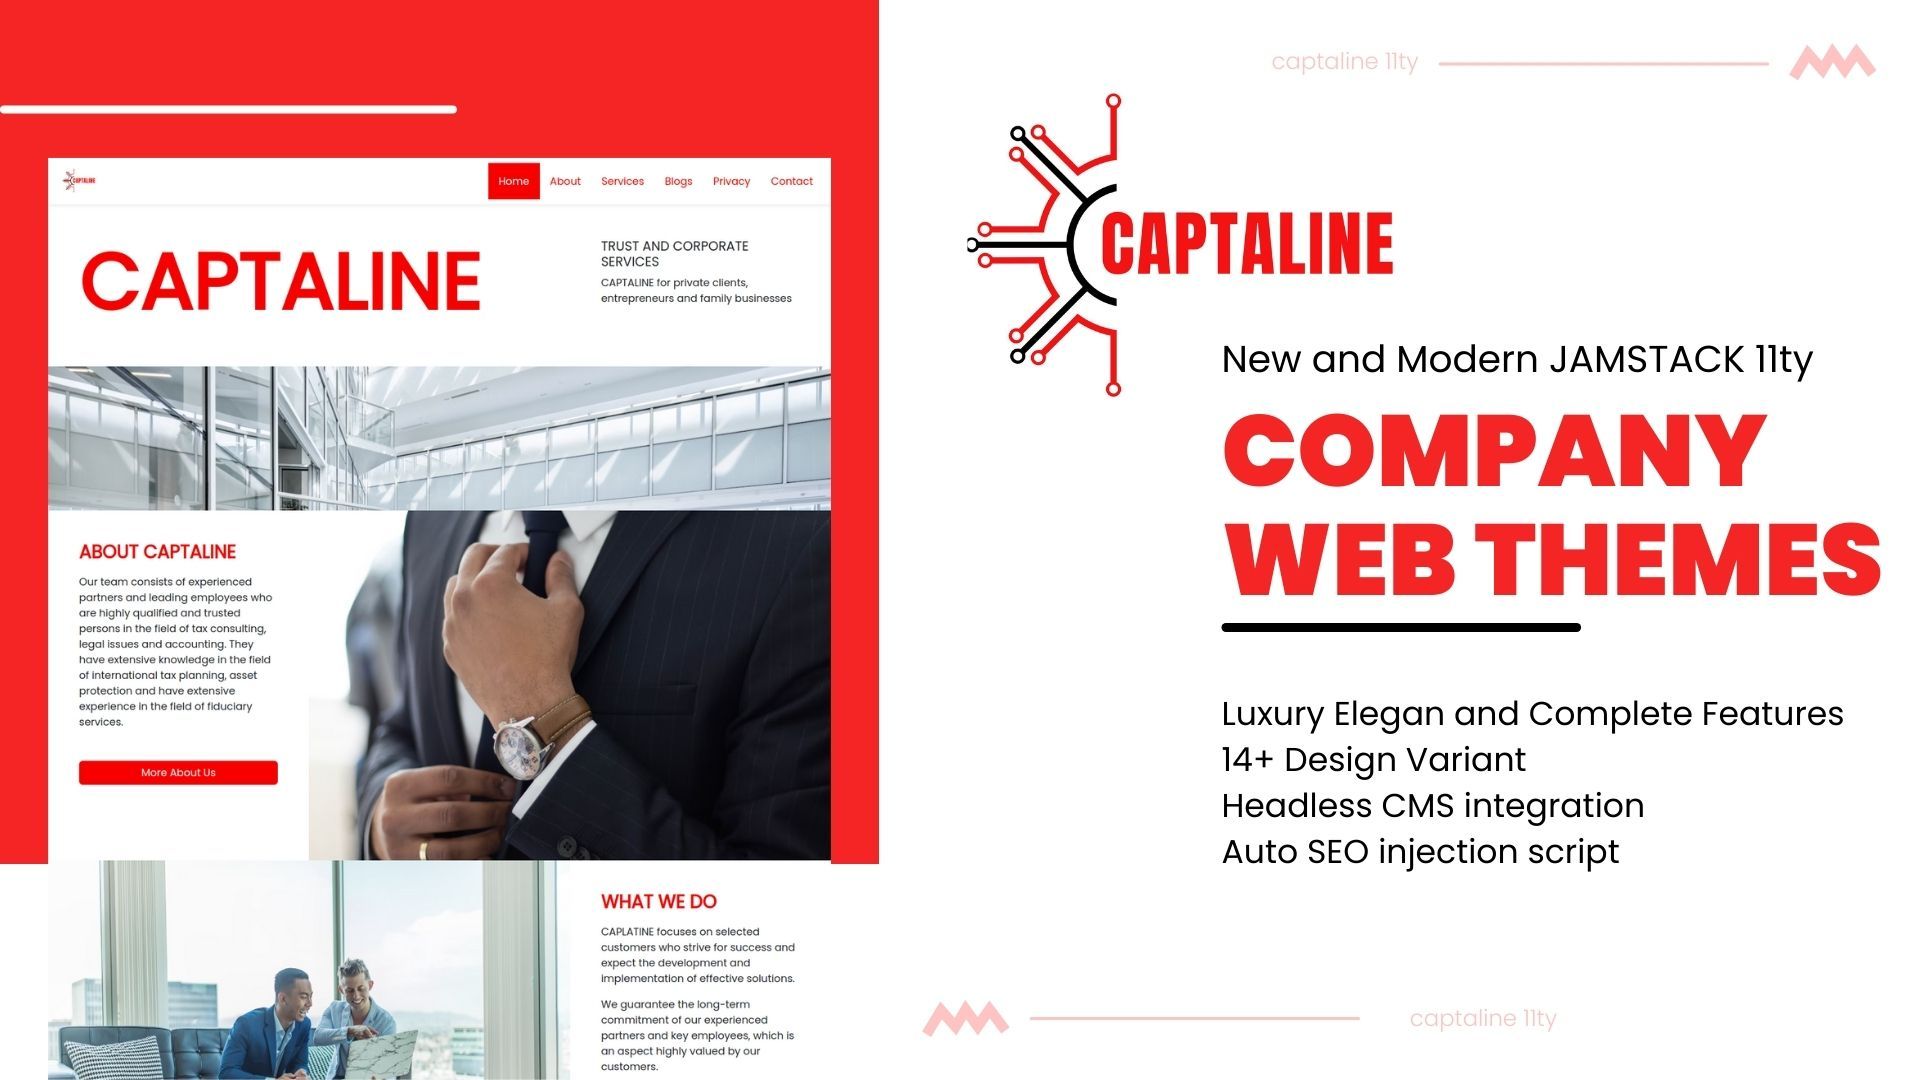
Documentation
Run Project
Run on Local Devices
If you want run on or local devices, you can open your project folder, right click - open with terminal, and run this command npm start
Now access your frontend project localhost:8080
For Backend Admin Area you can access on localhost:8080/admin
Run on Cloud Server
If you have deploy on vercel or neltify host server, your project is live now ,you can access your domain name.
Next step if you want work with headless cms tina cloud, you need to register and create account on tina cloud cms.
Create Tina Cloud Account

Create your account - use your github account, and create new project.
Github Integration

Next you can integration your github repo.push import your site button
Connect with your Github Account
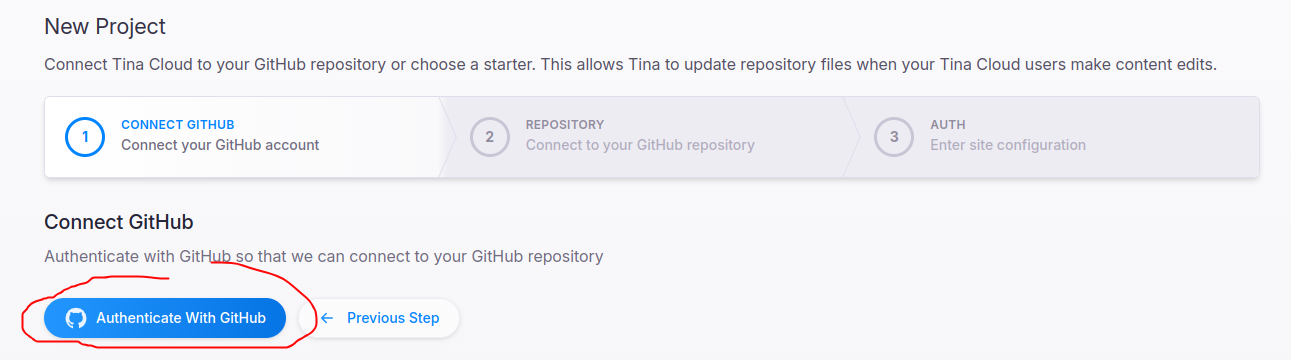
Coonnect your github account - and select your repo.
Configuration Tina Cloud
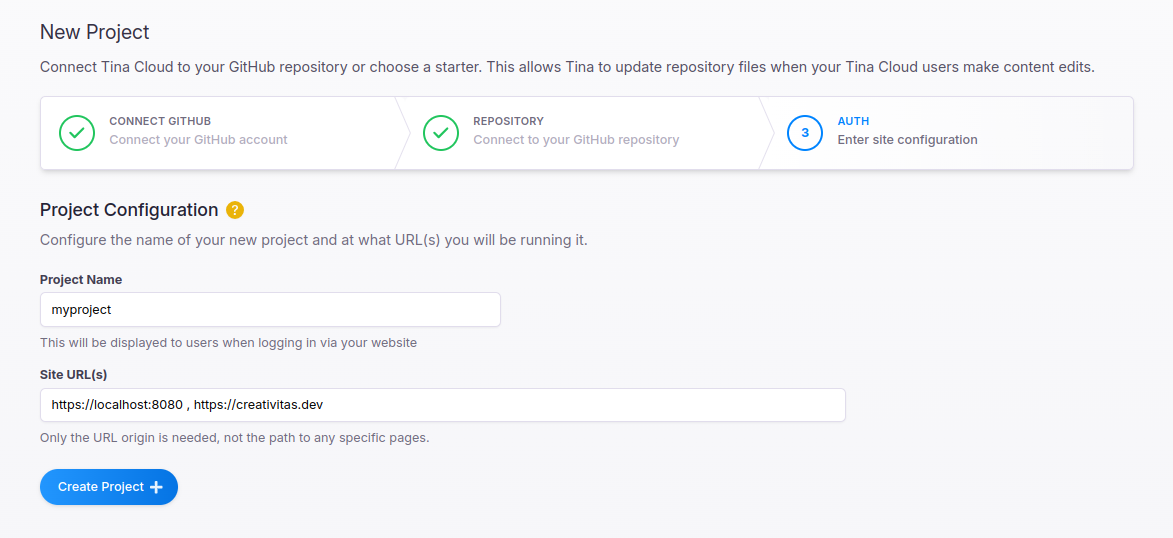
Now you can name it your project, and insert url for your local devices and your domain. Example for local devices we can use http://localhost:8080
Example implementation look like this
http://localhost:8080 , https://creativitas.devAnd push + Create Project button.
Client ID

Next you can copy your client id project.
Now we need to add tina cloud client id in to your project, Open your source code project, /tina/config.ts
And search this line code
export default defineConfig({
  branch,
  clientId: 'copy your client id in here...',
  token: '',
Change copy your client id in here... with your client id
Token

Next step you need to copy tina cloud token , click on token menu in the left sidebar. Copy your token and paste in to /tina/config.ts
export default defineConfig({
  branch,
  clientId: 'paste your client id in here...',
  token: 'paste token here...',
Change paste token here.. with your token.
That's it and your backend cms is ready to use.
Tags: docs run project deploy
Update At 15 August 2024 , by JAMSTACK THEMES